Windows Media Encoder |
|
| These screenshots give, in chronological order, a brief explanation to help you with encoding a movie. These guidelines show you how the encoding works with Windows Media Encoder, but you can assume that most encoding programs work in a similar fashion.
Step 1Open the program and click on "new session" to start encoding. To import a movie to encode, first click on "new session" and then browse to the file on your computer that you want to encode.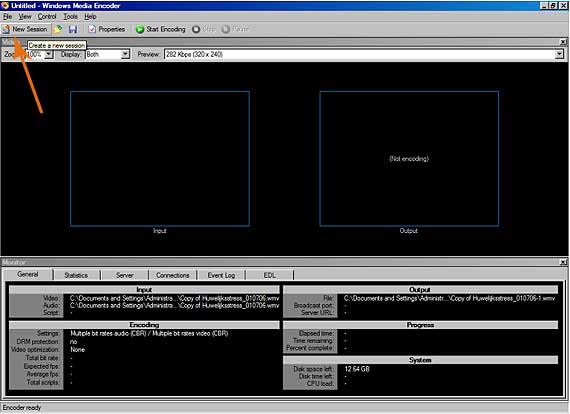
Step 2If the video material you want to process is a video that is still on a digital camera, you must click on "capture audio or video". If the video is already on your computer, click on "convert a file".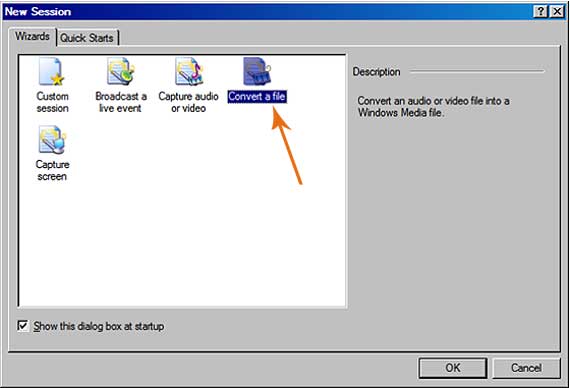
Step 3In the next window, under "source file", you browse to the audiovisual file that you want to convert. The second field, "output file", shows the destination folder and file name which the program automatically suggests. If you do not want this output folder and name, click on "browse" to browse to the preferred destination location and specify the name that you prefer.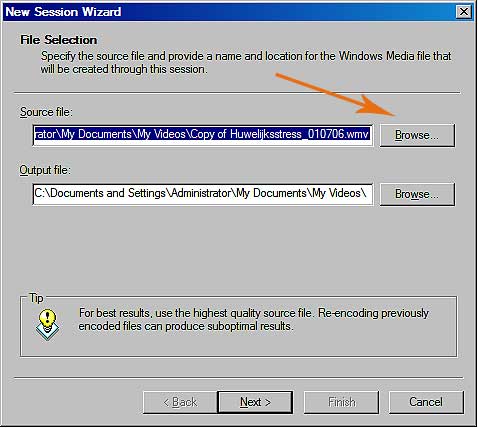
Step 4In the next screen you have to decide which use the created files are meant to serve.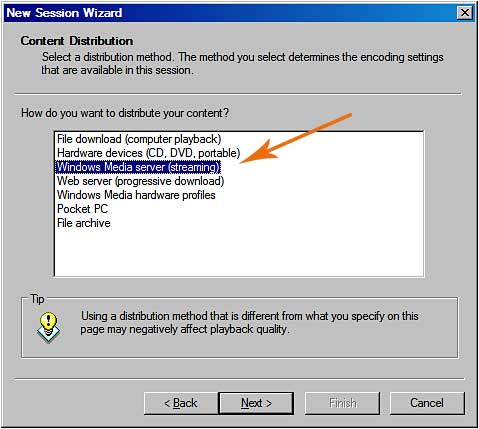
Step 5Decide in what size of window your (streaming) video will eventually appear.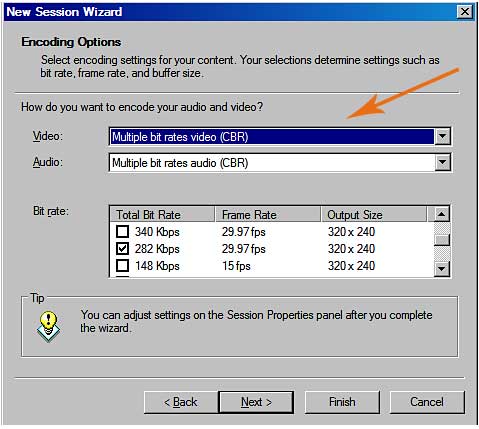
Step 6The movie is then imported into the encoding program.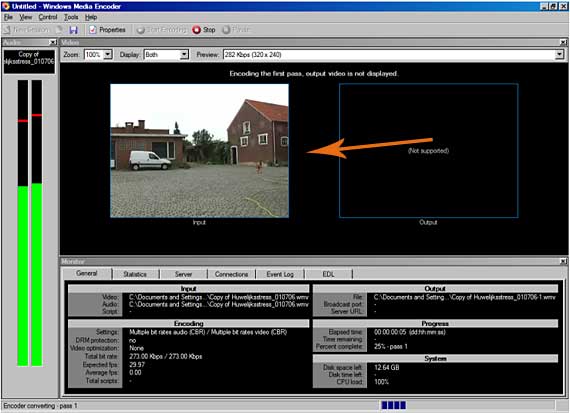
Step 7The movie is then converted to a new file in a different format.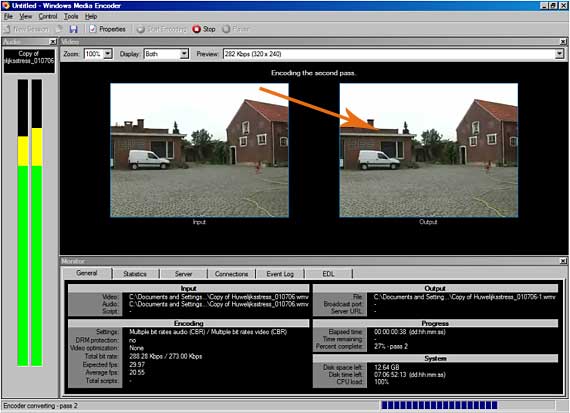
|